
What is a fashion tech pack template?
A fashion tech pack template is a reusable document for recording a garment’s design, materials, measurements and construction. Designers and manufacturers use the completed pack as a shared reference when developing and sampling that garment.
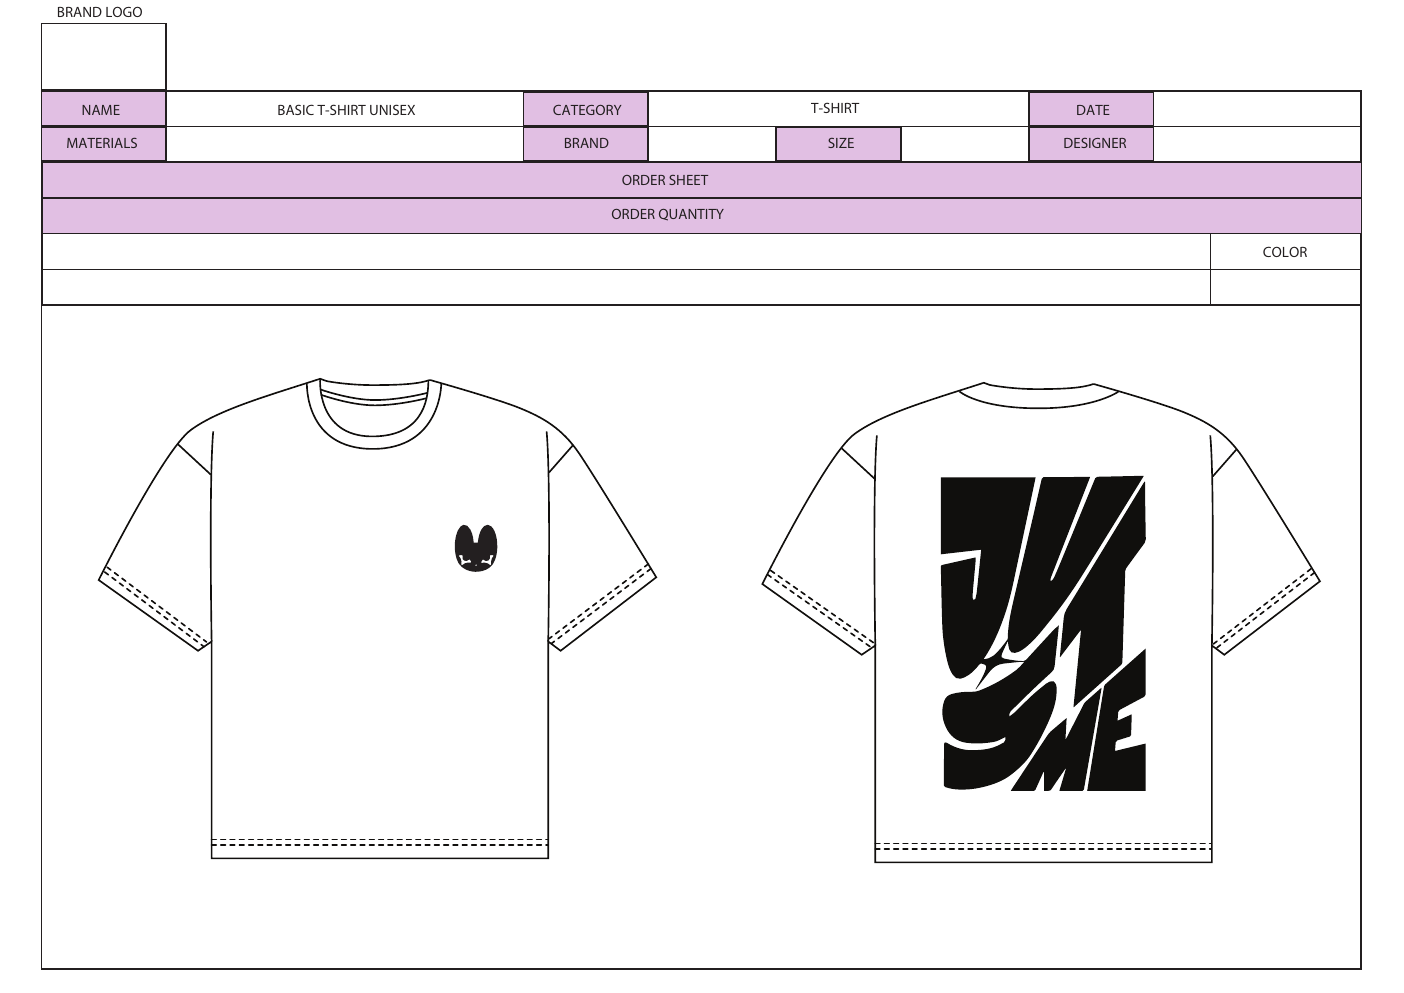
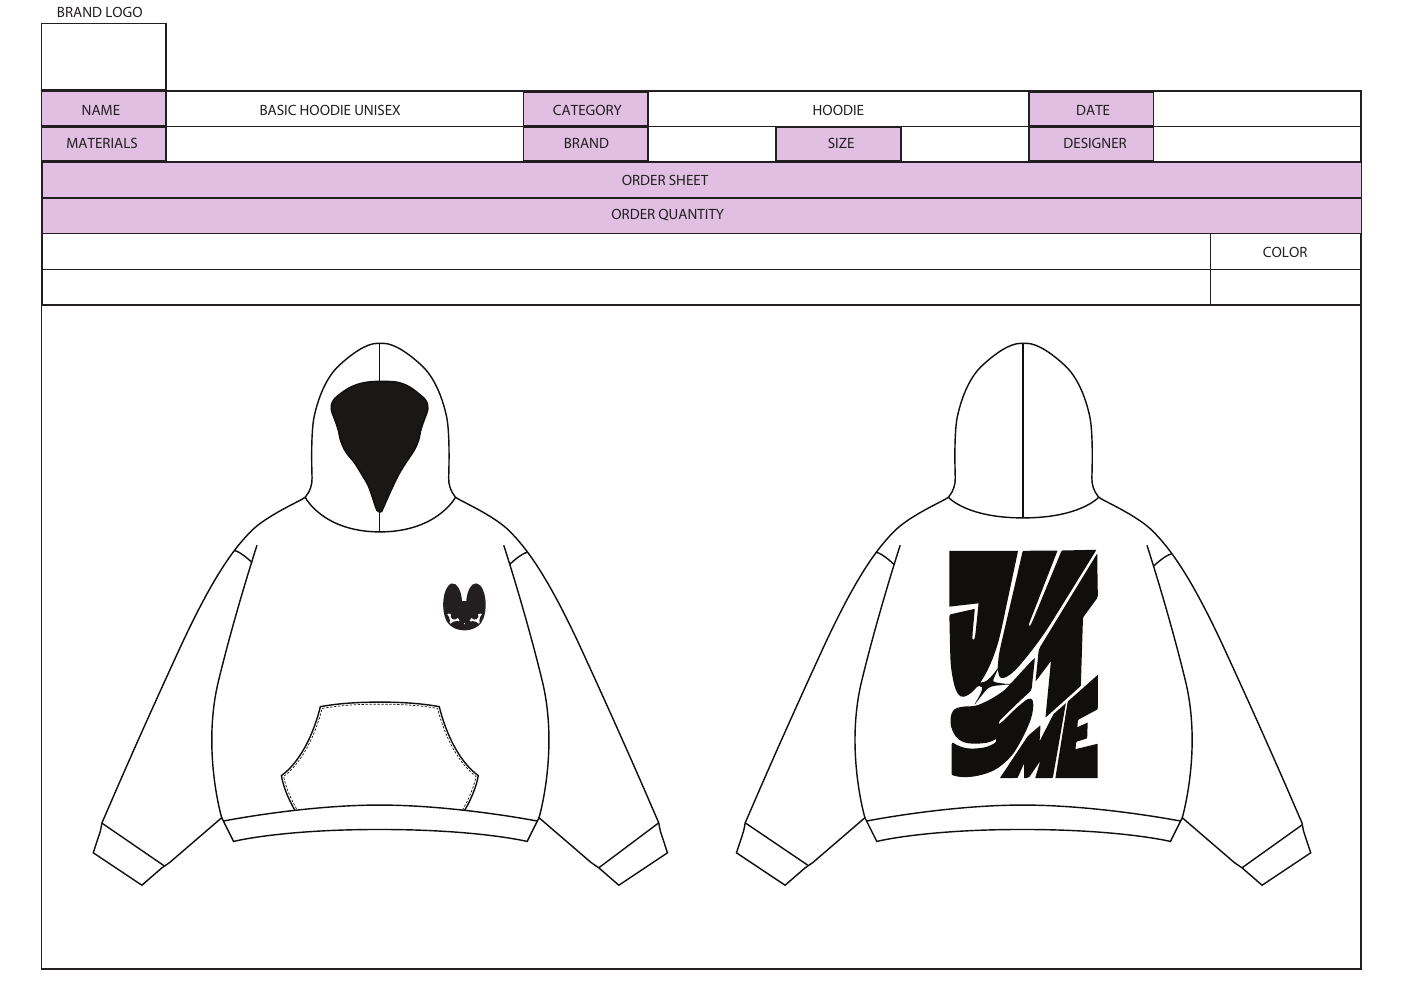
The free T-shirt and hoodie files on this page each have eight A4 landscape pages: an order overview, front and back construction pages, a bill of materials, front and back artwork guides, and front and back placement guides. The drawings and blank fields give you a starting layout to adapt to your garment.
Use the PDF to inspect the layout or share a reference. Open the Adobe Illustrator file to replace the drawings and edit the text. Save a working copy under your style name before changing the example details.
Customization walkthrough
Make the hoodie template your own
Suppose you want to replace the hoodie's example chest artwork with your own logo. Update the drawing, artwork reference and placement instructions together so they describe the same design.
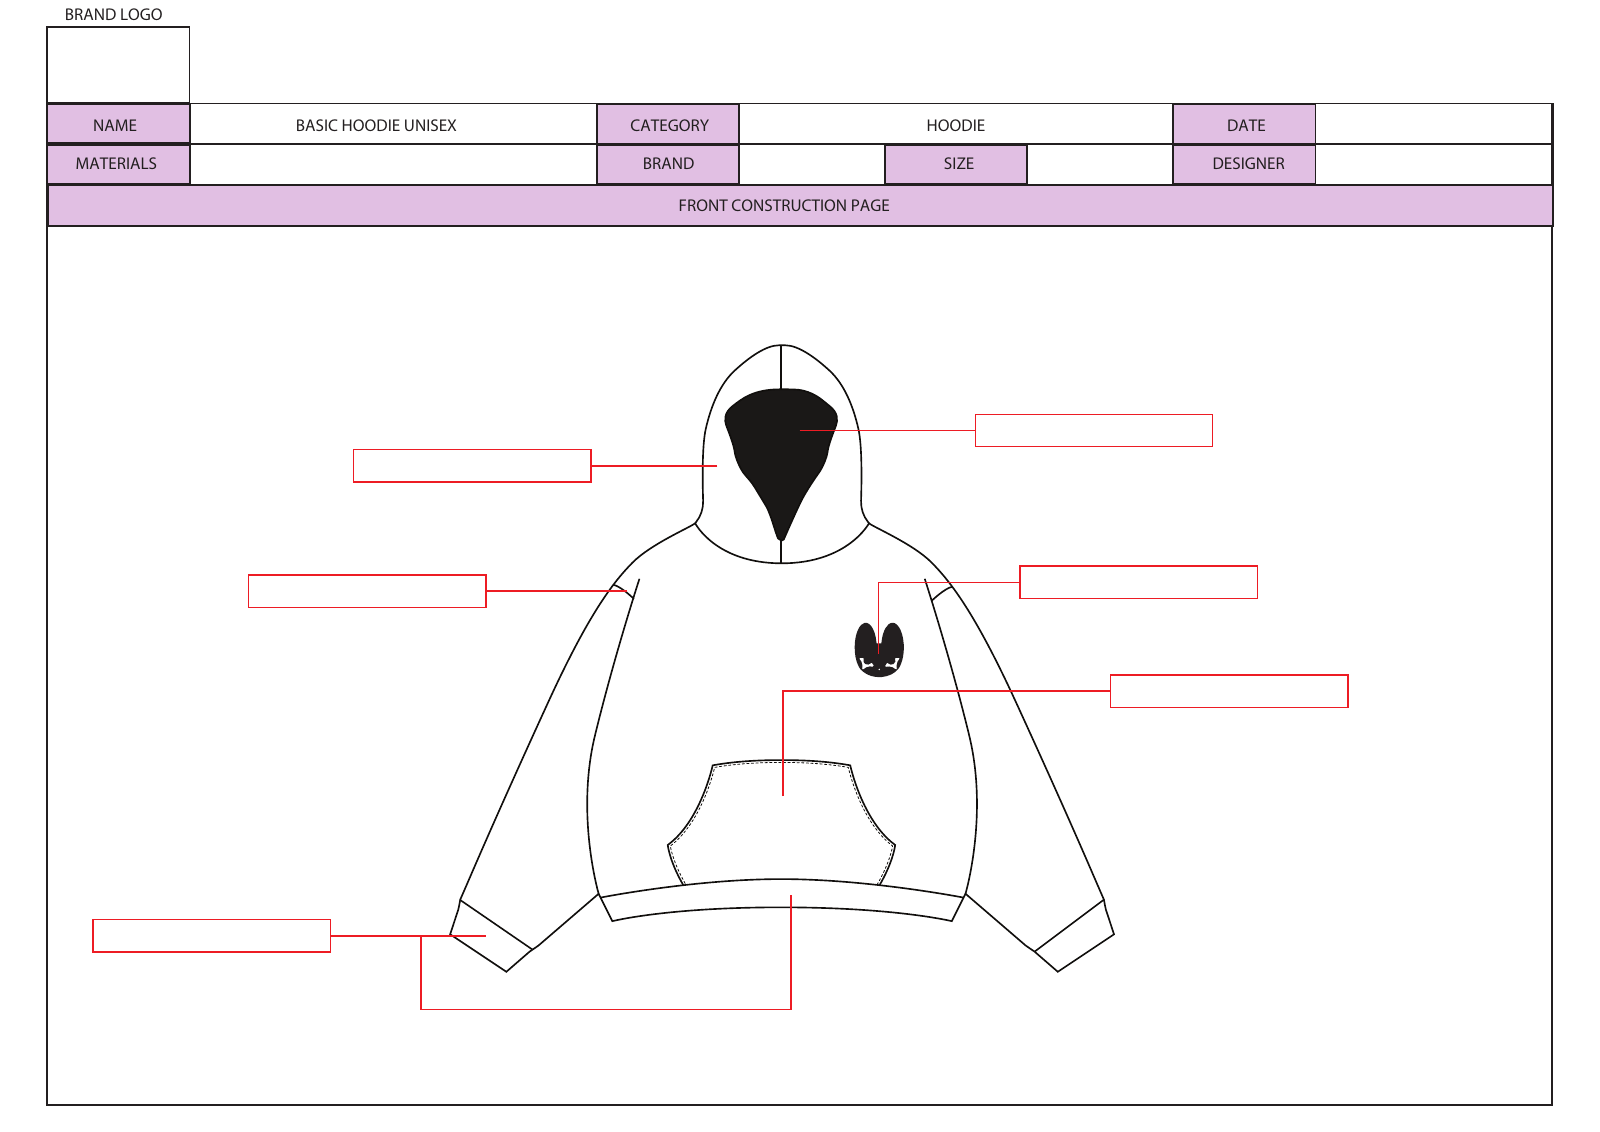
Illustrative callout: a one-color chest print
Front chest: screen-print chest-logo-v2.svg in black. Use the artwork size and placement dimensions recorded on page 7.
This is example wording, not a specification in the download. Replace the file name, color and print method with your choices, then complete the dimensions on the placement page.
| Where to edit | What to change |
|---|---|
| Front construction · page 2 | Replace the example chest artwork and add a callout naming the artwork file and application method. |
| Bill of materials · page 4 | Complete the fabric, rib, thread and label details. Include any additional materials needed for your artwork. |
| Front artwork guide · page 5 | Record the artwork file version, color reference, width and height. |
| Front placement · page 7 | Add placement dimensions and name the reference points used to measure them. |
For a front chest print, you might measure down from the neckline and across from center front. Choose reference points that suit the placement and label them on the drawing. A sleeve or back print needs its own placement instructions.
What to add before sending these templates to a factory
The starter pages need your garment's specifications. In particular, add a separate measurement sheet: the artwork placement fields in these files do not describe the garment's fit or size range.
Measurements, grading and tolerances
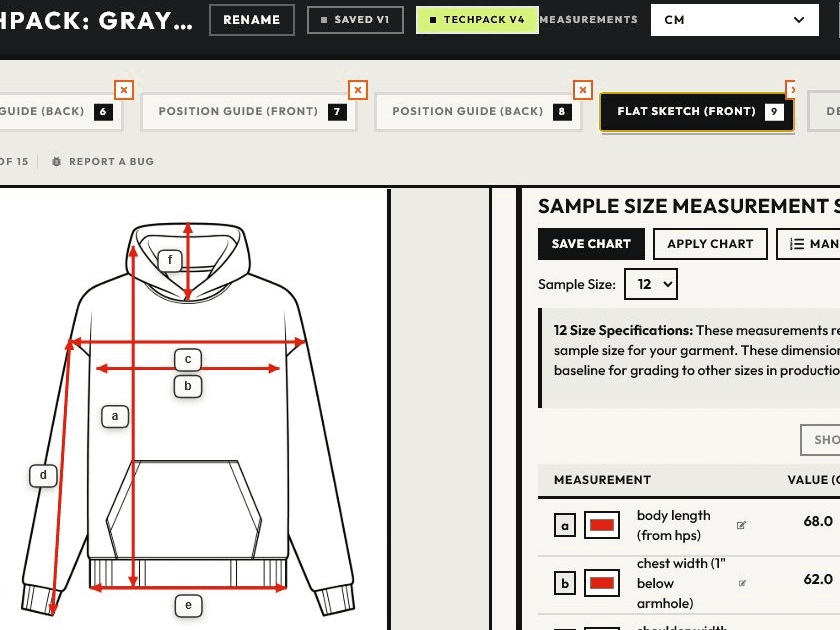
A garment measurement spec sheet lists each point of measure (POM), how it is measured and its value in the base size. For example, a chest-width instruction should identify where the garment is measured, whether it lies flat, and whether the value is a half-width or full circumference.
Add the changes between sizes, called grading, and the acceptable variation for each measurement, called tolerance. Agree these with your technical designer and manufacturer. State the units and whether measurements apply before or after washing; do not copy values from another garment without checking its fit, fabric and construction.
Drawings and construction
Replace the front and back example drawings. Use callouts to identify seams, stitching, hems, pockets and closures. Where a detail needs more explanation, add a close-up and specify the relevant stitch type, seam allowance or stitches per inch (SPI). Check that both views describe the same garment.
Materials, artwork and labels
Complete the bill of materials (BOM) with the fabrics, trims, threads and labels used in the style. Include the composition, weight, color, supplier reference and component dimensions where relevant. Identify each colorway so the factory can match the drawing to the correct material and artwork references.
Link artwork to its current source file and record its application method, size, colors and placement. Add label artwork, dimensions, position and attachment instructions, along with the folding, packaging or packing requirements for your order.
Order details and revisions
Fill in the style name or code, sample stage, size range, quantities and contact details that apply. Give one person responsibility for issuing updates. Keep a dated change log with the pack so the factory can identify the current version and see which sample comments still need a response.
Check the pack before requesting a sample
Review the completed pack with your technical designer and manufacturer. Check that:
- The front and back drawings match the construction notes.
- The measurement sheet defines the base size, units, grading and tolerances.
- Every material and trim has an identifiable specification or reference.
- Artwork files, colors and placement dimensions agree across the pages.
- Unused example details are removed and unresolved decisions are marked for discussion.
- The pack and supporting files carry the same style code, version and date.
Keep the editable source and send the reviewed PDF with its supporting files. Use the returned sample to check the result against your specifications and record any changes in the next version.
Another way to get started
Create a first draft with AI Tech Packs
The free template gives you a layout to fill in yourself. If you'd like help creating the first draft, AI Tech Packs offers another starting point: upload a garment image or flat sketch to generate an editable tech pack.
Review and refine the drawings, construction notes, materials and measurements in the editor, then export the draft for your sample review. This starts a new draft; it does not import or fill in the downloaded PDF or Illustrator file.
To reuse approved details across a collection, explore Style Blocks and Brand Kits.


